
- BY admin
- POSTED IN Blog
- WITH 0 COMMENTS
- PERMALINK
- STANDARD POST TYPE
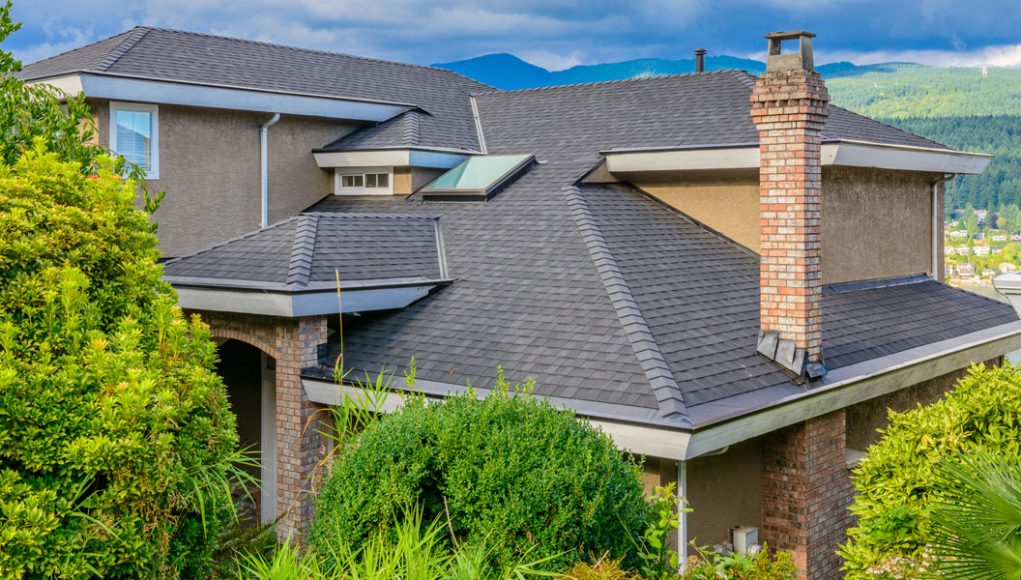
The Importance of Shingle Repair
Repairing roof shingles is both an important and simple job which many DIY handymen are fully capable of taking care of. If your roof has damaged or broken shingles, it’s definitely an eyesore, but more importantly it can lead to leaks and even structural damage if left untended. If you can find the right shingles at a hardware store nearby and you’re not afraid of heights, repairing your roof shingles can be a simple afternoon task, so let’s dive right into the particulars.
A Step-by-Step Guide to Repairing Your Shingles
The first step in roof repair is to pick the right day for the job. Delicate repair jobs need to be tackled on clear days without heavy wind or other natural issues to contend with. Cold days can crack shingles and hot days can make shingle sealants more challenging to work with, so aim for a nice, moderate weather day. Once you’re up there, you’re going to start by loosening the tabs under the broken shingle. Shingles are attached by eight nails, and you need to lift up all shingles connected by these nails in order to remove them. Once this is complete, push the flat bar under the damaged shingle to each nail.
Make sure the nails are centered in the notch of your flat bar. Gently work the bar under both tabs as you apply pressure in order to avoid breaking any shingles. A gentle, steady prying motion is the best way to remove the nails. Don’t try to dig the nail heads out from on top, since that will irreparably damage the shingle. After the nails have been removed, pull out the offending shingle. Slide in the new shingle and nail it in, starting with the center row. Finish up by nailing in all the shingles around it and your repair job is complete!
